It is said that the first few rows of crochets are the hardest ones and it is usually the main reason why so many women give up on these wonderful and rewarding technique. Once you work your fingers thorough the first 10 rows they will adapt to the work and things will go much easier. Let’s be honest – learning how to crochet is not an easy task, but with our detailed tutorial you will soon be able to make your first baby blanket, soft scarf or even a crochet bag!
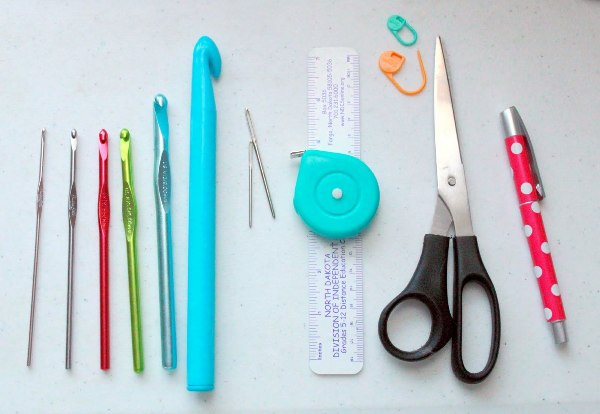
The first you thing to do is to get the necessary tools and materials. Don’t worry – you will only need couple of things:
- Crochet hook
- Yarn
- Measuring tape or ruler
- Straight pins
- Yarn needle
1. Crochet Hook

Lets get to know the basic tool used for crocheting – the hook. Take a good look at its parts cause you will have to know them well in order to follow crocheting patterns and tutorials.
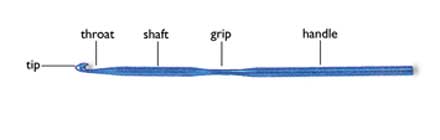
The tip and the throat are used to make a stitch while the diameter of the shaft section determines the size of the hook and the grip and the handle are used to hold the hook.
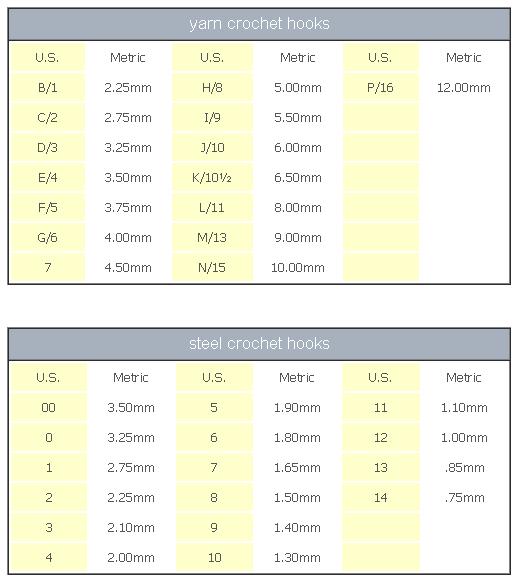
Crochet hooks come in two types – yarn and steel. The yarn hook is made to be used with yarn, as it’s name says. Yarn hooks can be made with different materials – aluminum, plastic, bamboo, abalone, bone etc. The perfect yarn hook to start with is the aluminium one cause it is inexpensive and easy to hold. Yarn crochet hooks come in different sizes starting from the smallest to the largest. The size is usually stamped on the grip of the hook. Steel hooks are used for working with other materials than yarn, like linen or cotton. They are sized from the largest to the smallest, so the lower the number the bigger the hook and vice versa.
2. Yarn
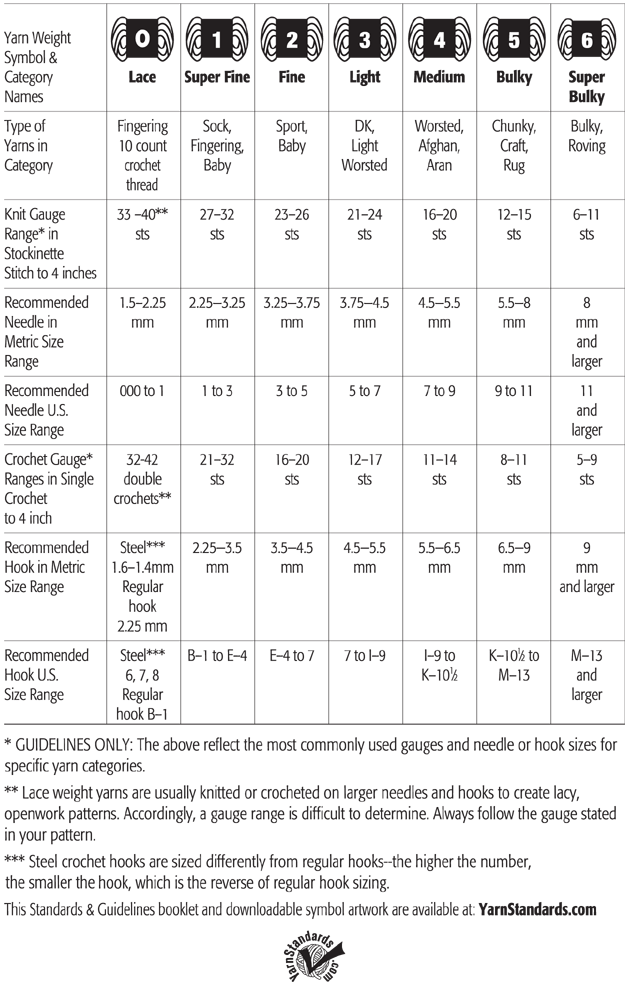
Today you can find any kind of yarn that you can imagine. From natural materials to high-tech synthetics – from smooth classic plied yarns to loopy bouclé. Not to mention the all the colors available…But you should really focus on getting to know the meaning of the yarn’s weight as it is the most important quality. With this yarn weight chart you can easily choose the right yarns for your projects:
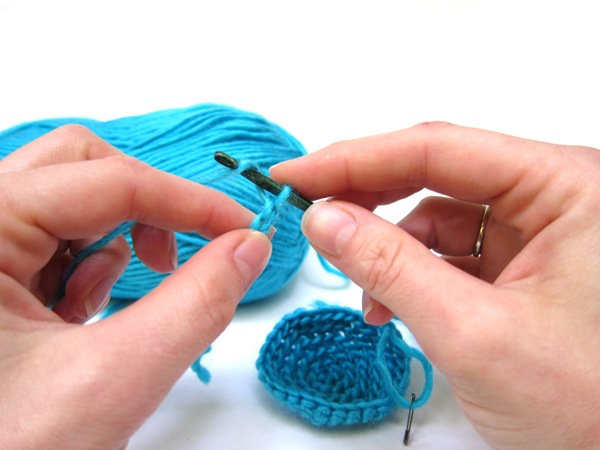
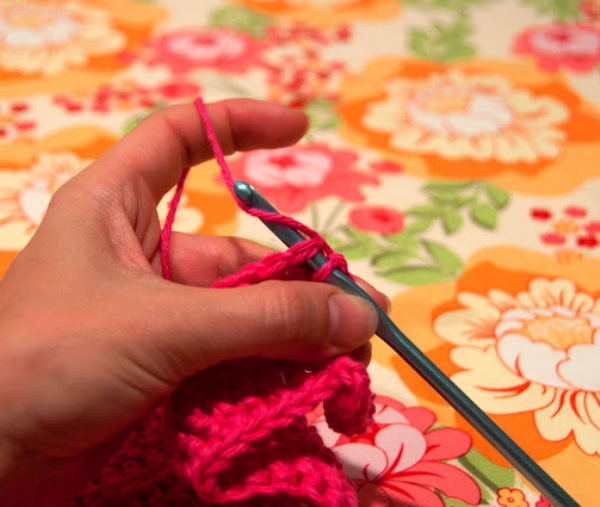
Another important thing to learn is to hold the yarn so it is able to flow easily from hand to hook. Try to hold the hook as you hold a spoon and pencil and use the hook to pull the yarn from your fingers through the loop on the hook. At the end, how you hold the yarn is a matter of preference and you will choose the way you are most comfortable with time and experience.
3. Gauge Swatch
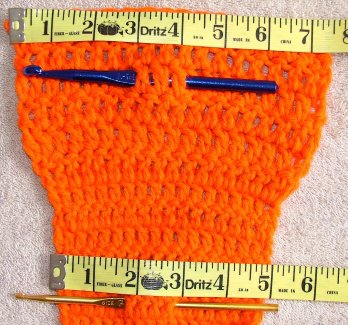 Always look for the gauge recommended in your pattern and create a sample gauge in order to check if the finished product will be the right size so you can adapt the hook size if necessary. The sample should be a 4 inches square and you must use the same yarn, hook and stitches as those in the pattern. When you finish the sample place it on a flat surface and insert two pins vertically 3 inches apart. Count the number of stitches between them. Do the same thing again but now place the pins horizontally. The number of stitches you got should be the same as the one on the gauge from the pattern. If you end up with fewer stitches than go for a smaller hook…
4. Before you get started…
One thing you should also learn before starting the basic stitches is how to increase and decrease the width of a piece. Add more stitches by working two stitches of one row into a single stitch of the row before it to add width and subtract stitches by skipping a stitch for decreasing the width. Always try to really become familiar with your pattern before starting a crocheting project – read the instructions thoroughly!
5. The Foundation Chain
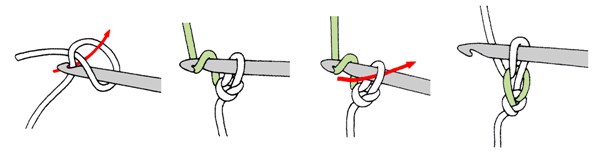
The first stitch of the crochet is called the chain, while the first group of stitches is called the foundation chain. Start with a slip knot on the hook and wrap the yarn around the hook from back to front. Than draw the yarn through the loop on the hook. To tighten, pull long end of yarn downward.
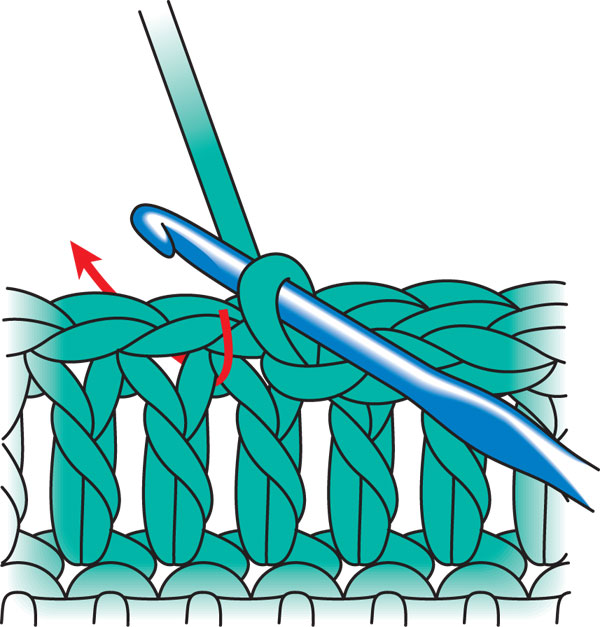
6. Single Crochet
This is the basic short stitch that makes a dense fabric.You should finish the foundation stitches row first so you can start working a row of single stitches into them. Insert hook through second chain stitch from hook, wrap yarn around hook, and draw it through that stitch. Do the same for a second time, drawing it through both loops on hook. Adjust tension by pulling on yarn until existing loop just fits around the hook and your first single crochet is now completed.
7. Half Double and Double Crochet
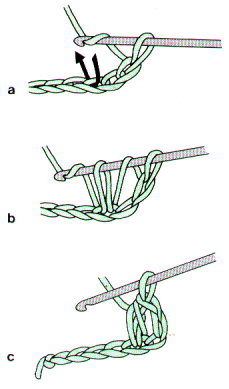
- To make half double crochet work your first stitch into the 3rd chain.
- This stitch is the first of the basic stitches that requires a yarn over before you insert the hook front to back, under the 2 top loops of the 3rd chain from the hook.
- Yarn over and pull the yarn through to draw up a loop.
- There are now 3 loops on your hook.
- Yarn over and pull through all 3 loops.
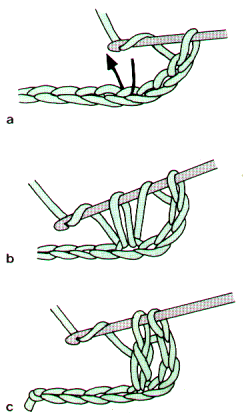 For a double crochet stitch work your first stitch into the 4th chain from the hook
- Yarn over and insert the hook, front to back, under the top 2 loops of the 4th chain from the hook.
- Pull through the loop. You now have 3 loops on your hook. Yarn over again.
- Pull through the 2 loops closest to the hook’s point as shown. Two loops remain on the hook.
- Yarn over once more and pull through the 2 remaining loops. You now have a single loop remaining on the hook.
8. Treble Crochet
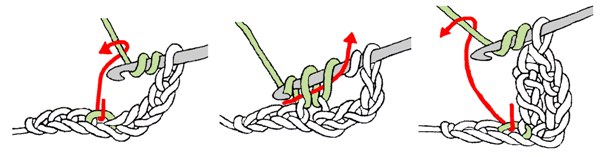
Working this last of the basic stitches is similar to working double crochet, you just need to work one more yarn over. As the tallest stitch, you’ll now work into the 5th chain from the hook. Yarn over and insert the hook, front to back, under the top 2 loops of the 5th chain from the hook. Pull through the loop. You now have 4 loops on the hook. Pull through the first 2 loops closest to the point of the hook, then, yarn over again and pull through the next 2 loops closest to the point of the hook. Two loops remain on the hook. Yarn over one last time and pull through both loops. One loop remains on your hook.
9. Joining or Slip Stitch
This stitch is used just for joining and moving around stitches without adding height as well as for th finishing touch of your piece. To make a slip stitch, insert your hook, front to back, under the 2 top loops of a chain or stitch. Yarn over, and in one motion, pull through the chain or stitch and the loop on your hook. One loop remains on the hook. To use a slip stitch to join a ring, insert your hook under the 2 top loops of the first foundation chain and then yarn over. Pull the hook through the chain and the loop on the hook. One loop remains on the hook. You have now completed a slip stitch and made a ring!
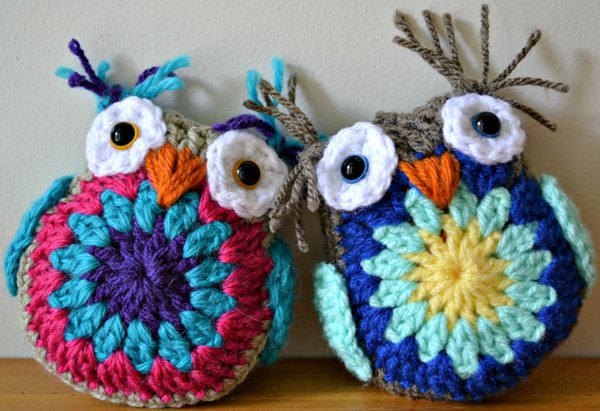
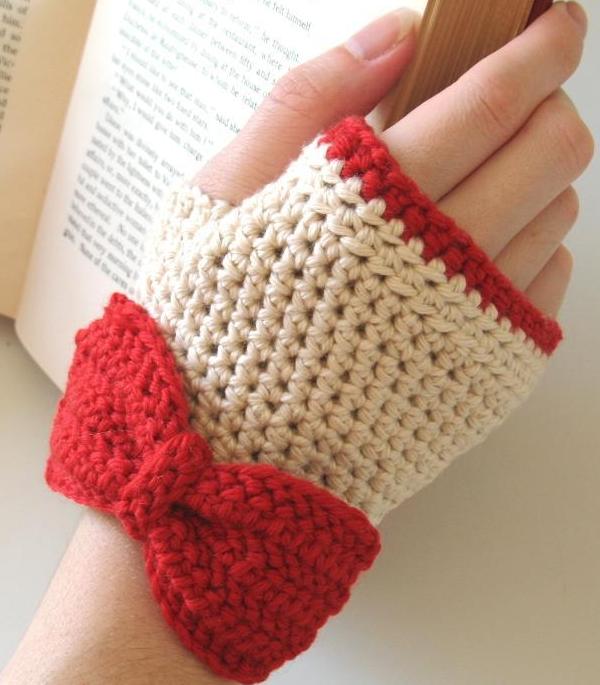
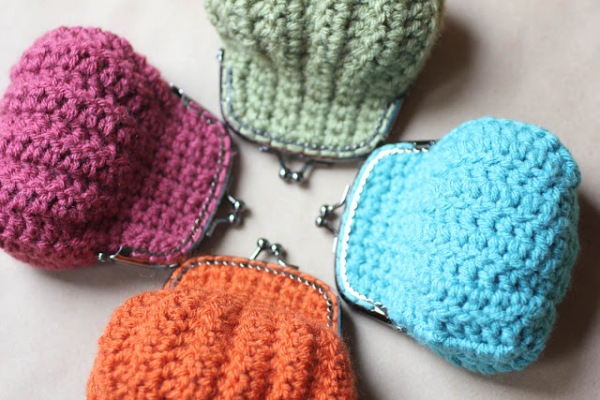
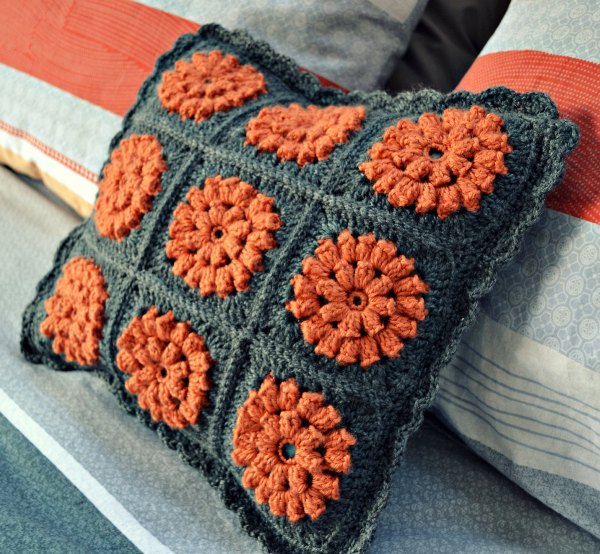
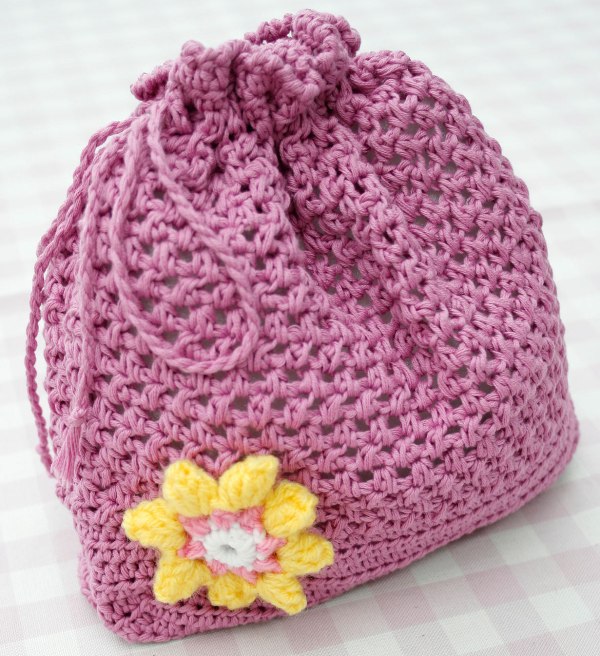
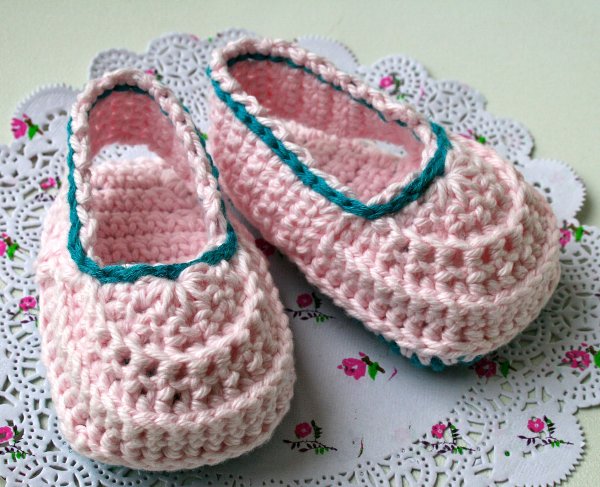
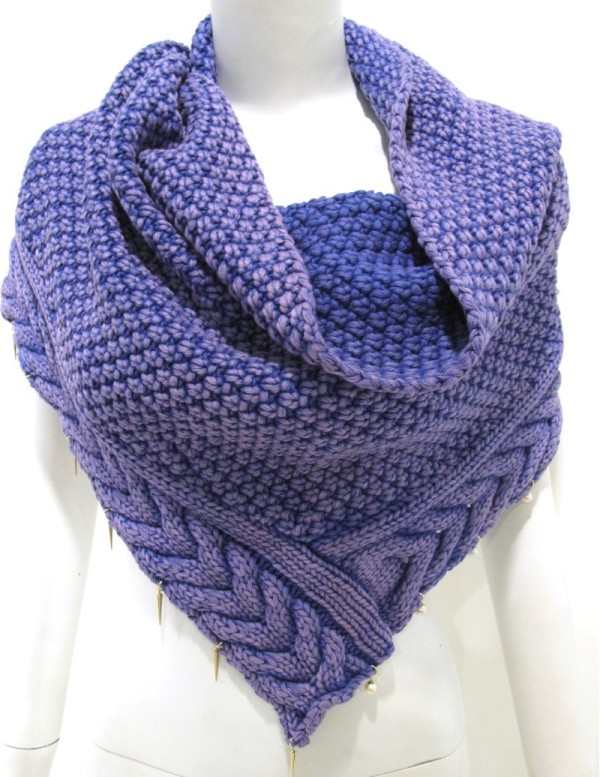
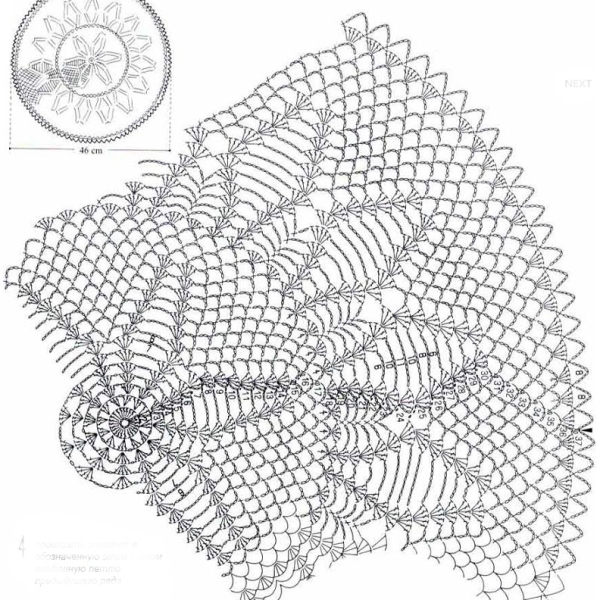
Now that you know the basics of crocheting feel free to try any pattern you like – as we said before the start is always the hardest part so don’t give up right away. Learn by your mistakes, read the patterns once again if needed and with time you will get more comfortable with the technique. Here are some lovely pieces made with crocheting to encourage you to start practicing right away!